Want to creat a multi-tenancy application? You can use the Tenancy package to create a multi-tenancy application with multiple database and multiple domains support.
Here is a simple instruction for you to create a multi-tenancy application in windows system.
Requirement
- PHP 8.0+
- Laravel 8.0+
- spatie/laravel-multitenancy 2.0+
Installation
Create a new laravel project and add neccessary packages then publish some config files
1 | laravel new mulittenancy |
Create databases and run the migration
For simplicity we just manually create the 3 databases by HeidiSQL, you can implement your own code to create tenant database on the fly. Open your favorite mysql client app create 3 databases, names are tenant_1, tenant_2 and landlord .
After created the databases, modify the config files
config/database.php
1 | // 'default' => env('DB_CONNECTION', 'mysql'), |
and add the following code under connections section below “sqlsrv”
1 | 'tenant' => [ |
Open config/multitenancy.php , modify as the followings, only line 21,36,58,63 changed from the original code
1 |
|
Start the mirgation , first migrate the landlord database
1 | php artisan migrate --path=database/migrations/landlord --database=landlord |
Insert two rows of tenant data to the landlord database tenants table
1 | INSERT INTO `tenants` (`id`, `name`, `domain`, `database`, `created_at`, `updated_at`) VALUES (1, 'tenant-1', 'tenant1.test', 'tenant_1', NULL, NULL); |
Second migrate the tenant database
1 | php artisan tenants:artisan "migrate --database=tenant" |
if everything goes well, you will see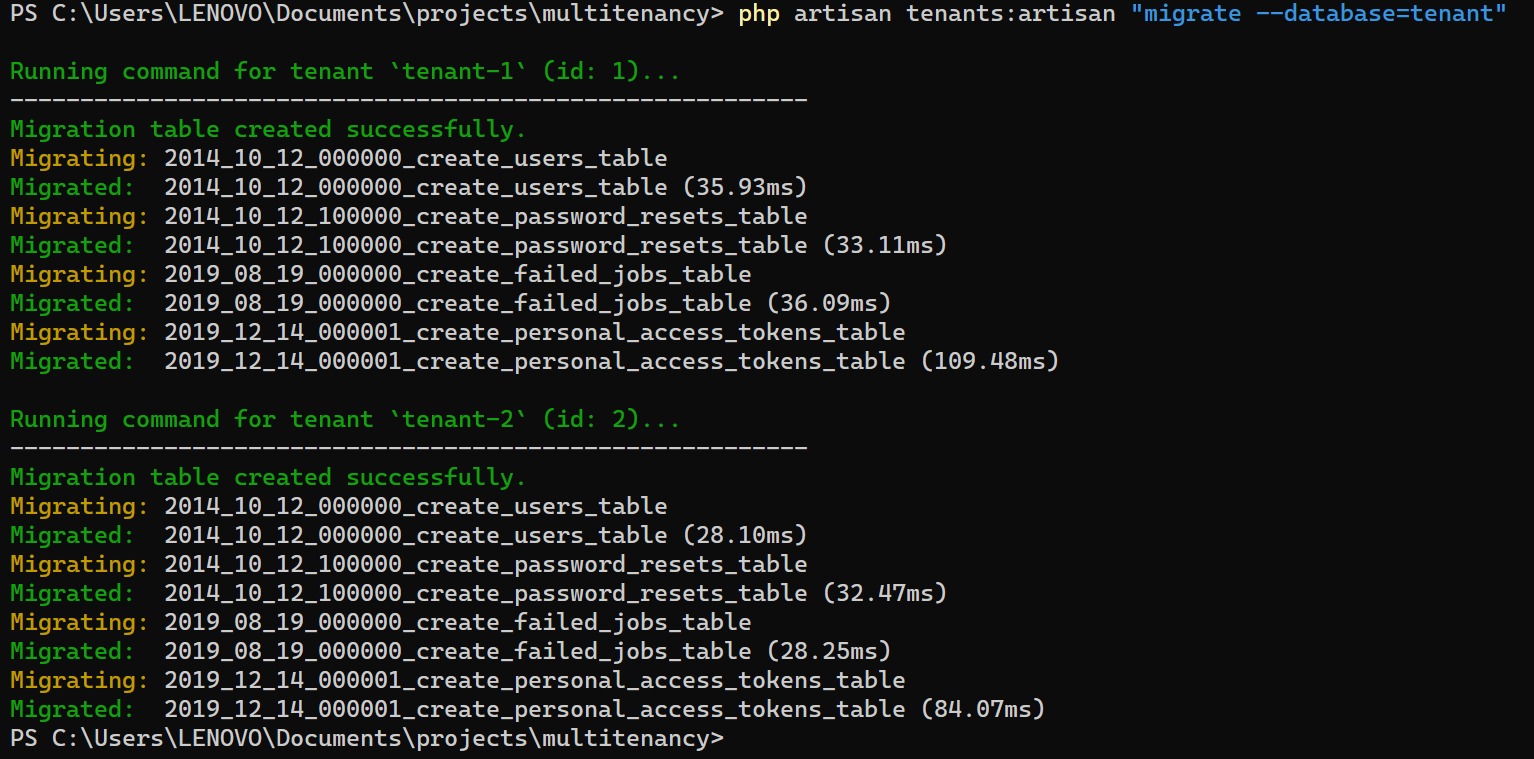
Modify app\Http\Kernel.php
Add last two line (NeedsTenant::class,EnsureValidTenantSession::class) to the web middleware group, all your application routes are now tenant-aware
1 | protected $middlewareGroups = [ |
Try login with different tenant
Modify default welcome page to show which tenant is current tenant, oepn resource/views/welcome.blade.php, find the Documentation section and add {{app("currentTenant")->name}}
1 | <div class="ml-4 text-lg leading-7 font-semibold"><a href="https://laravel.com/docs" |
Add two dummy domain to hosts file.
Open C:\Windows\System32\drivers\etc\hosts file with administrator privilege, add the following line to the bottom
1 | 127.0.0.1 tenant1.test |

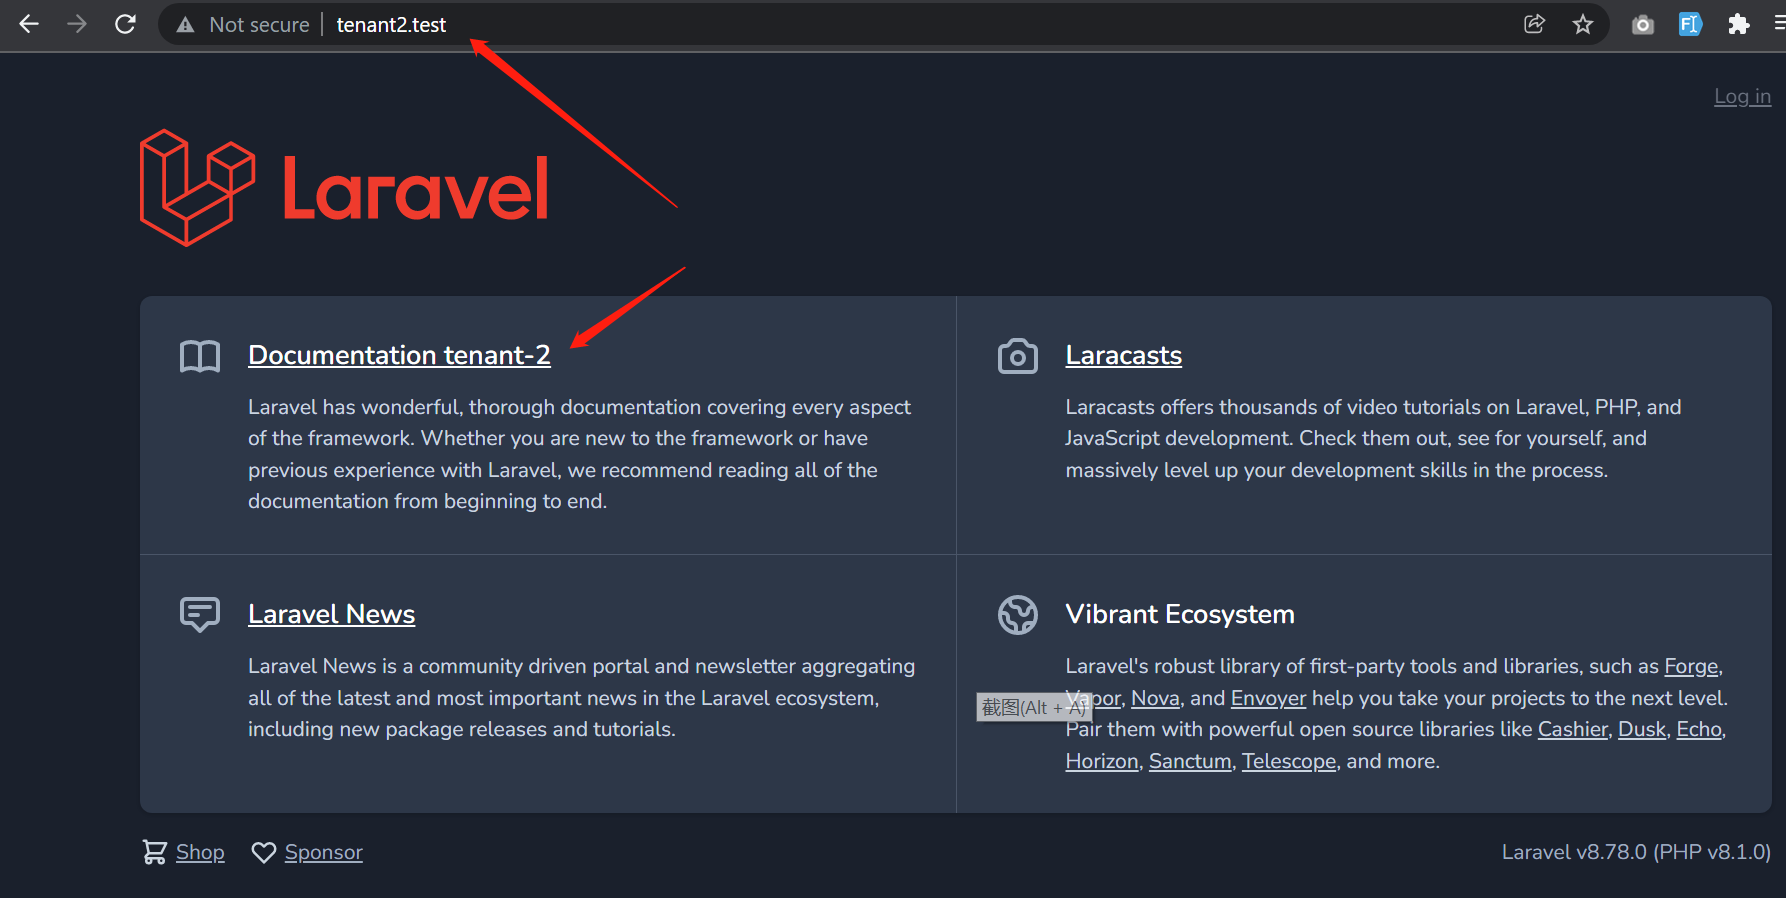
Now open your browser and try open two tab, one is tenant1.test, the other is tenant2.test, you will see the welcome page with different tenant name after Documentation.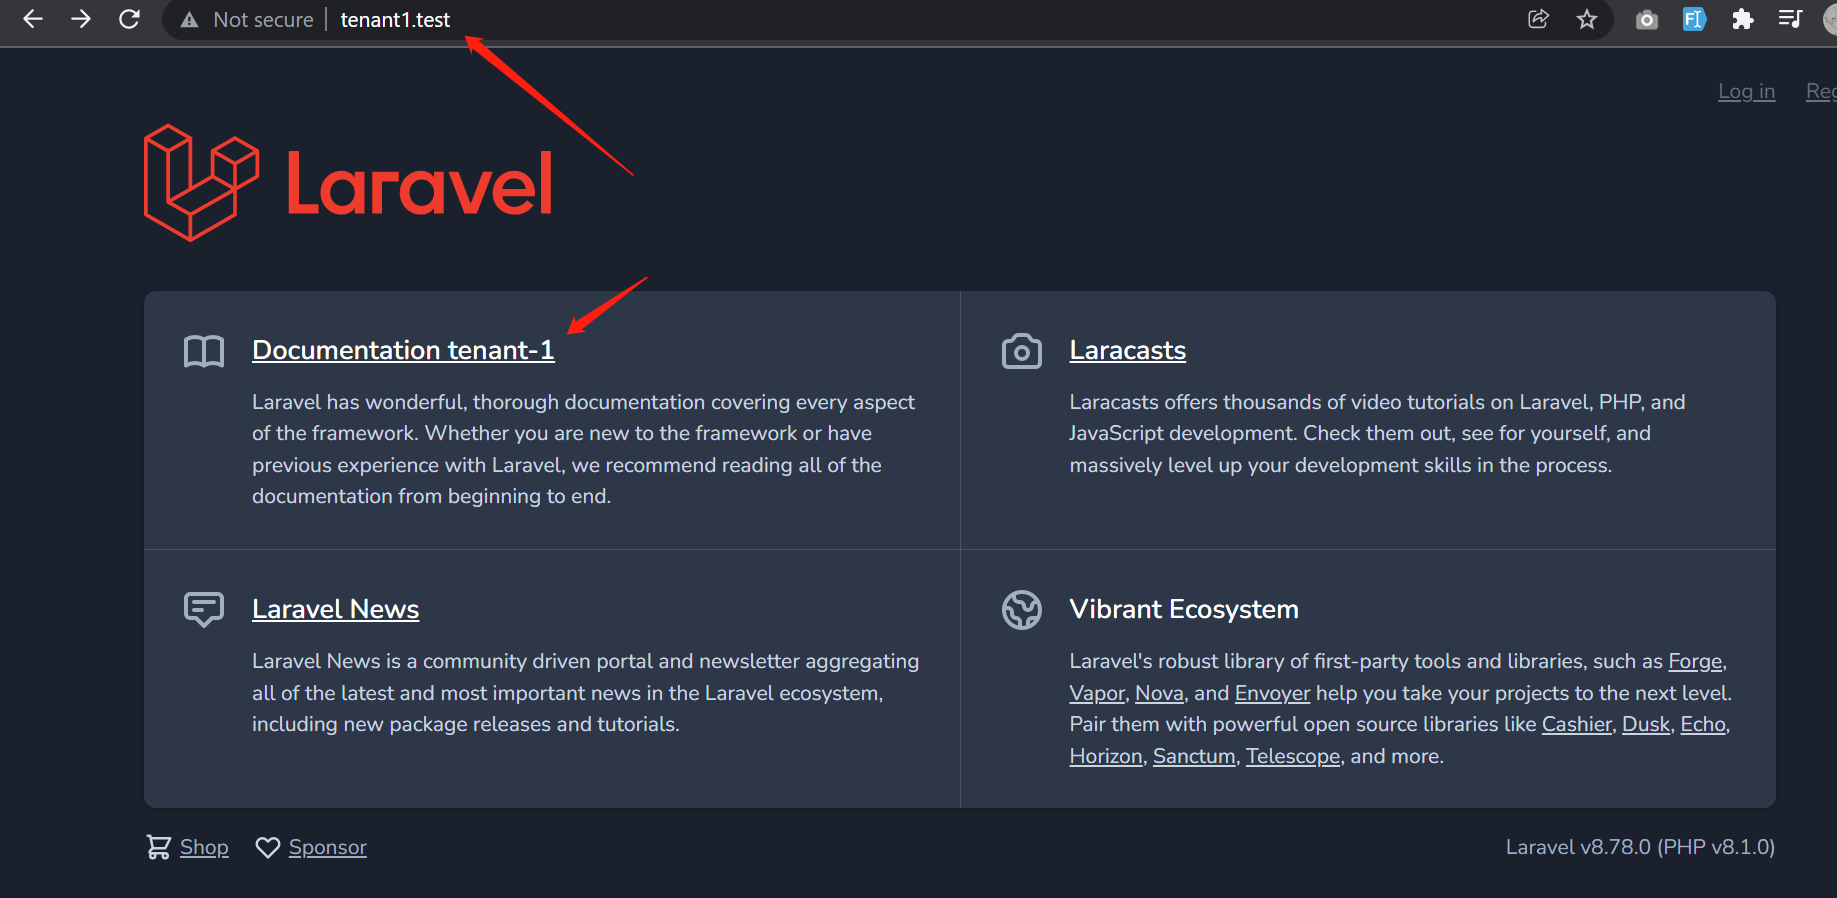
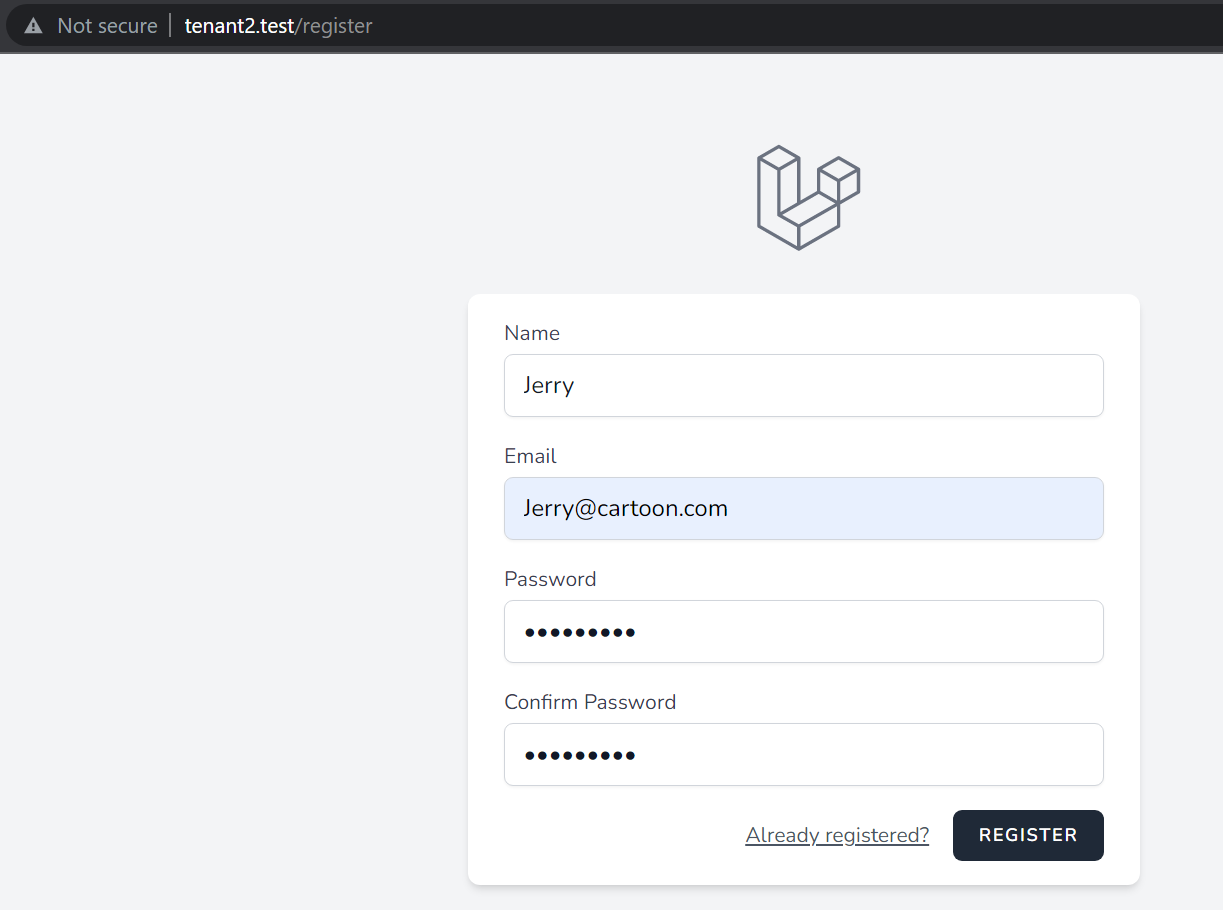
Try to create 2 new user from different tenants, create Tom in tenant1.test, and Jerry in tenant2.test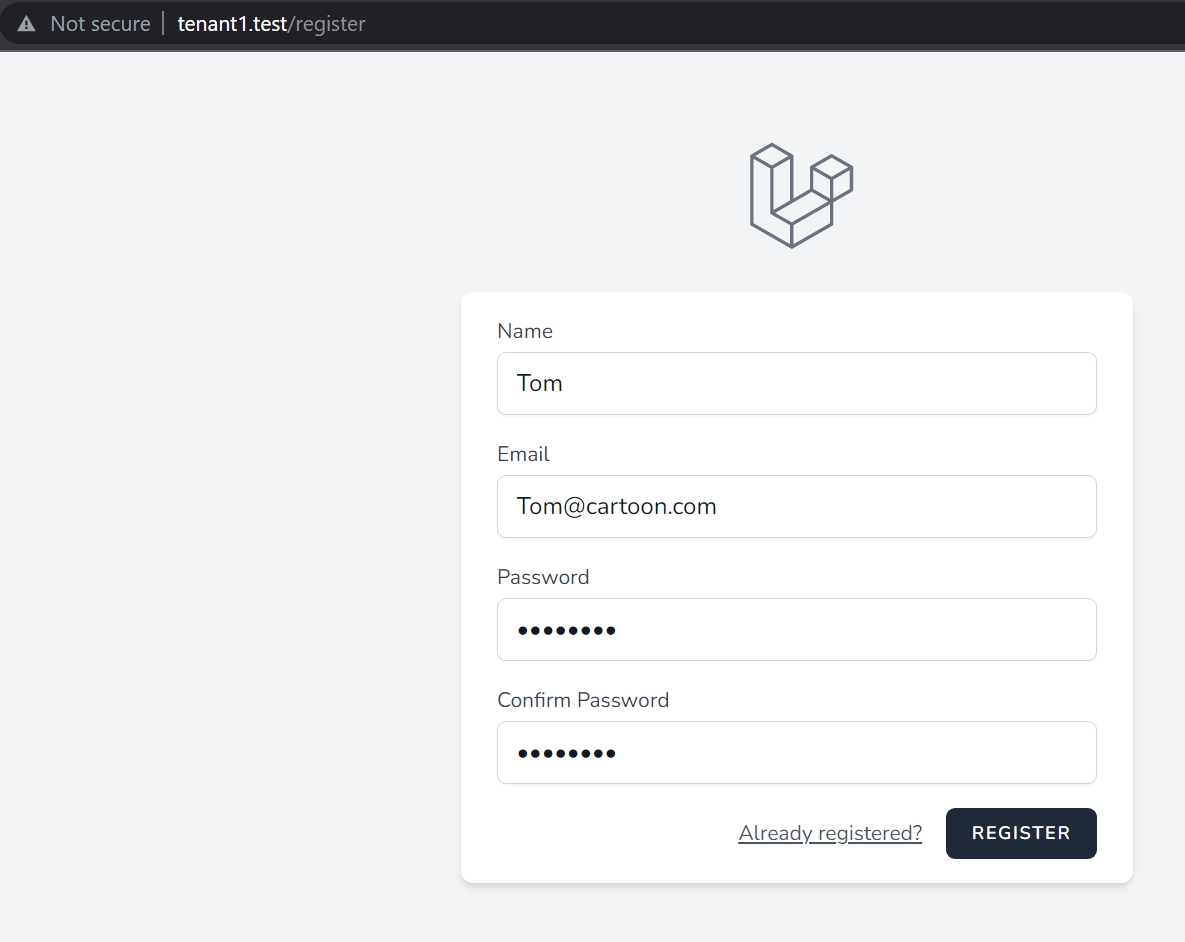
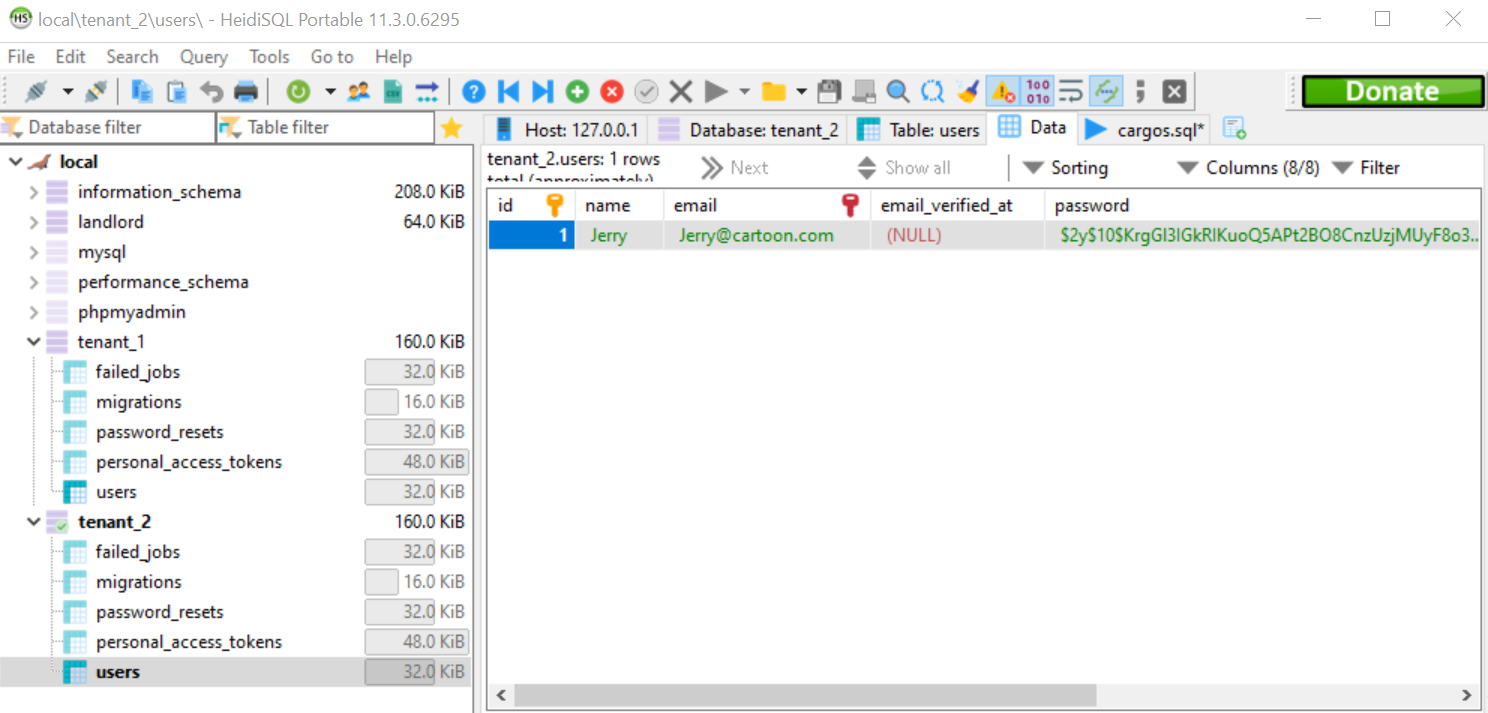
Open HeidiSQL, we can see the user Tom and Jerry are created in tenant1 and tenant2 database respectively.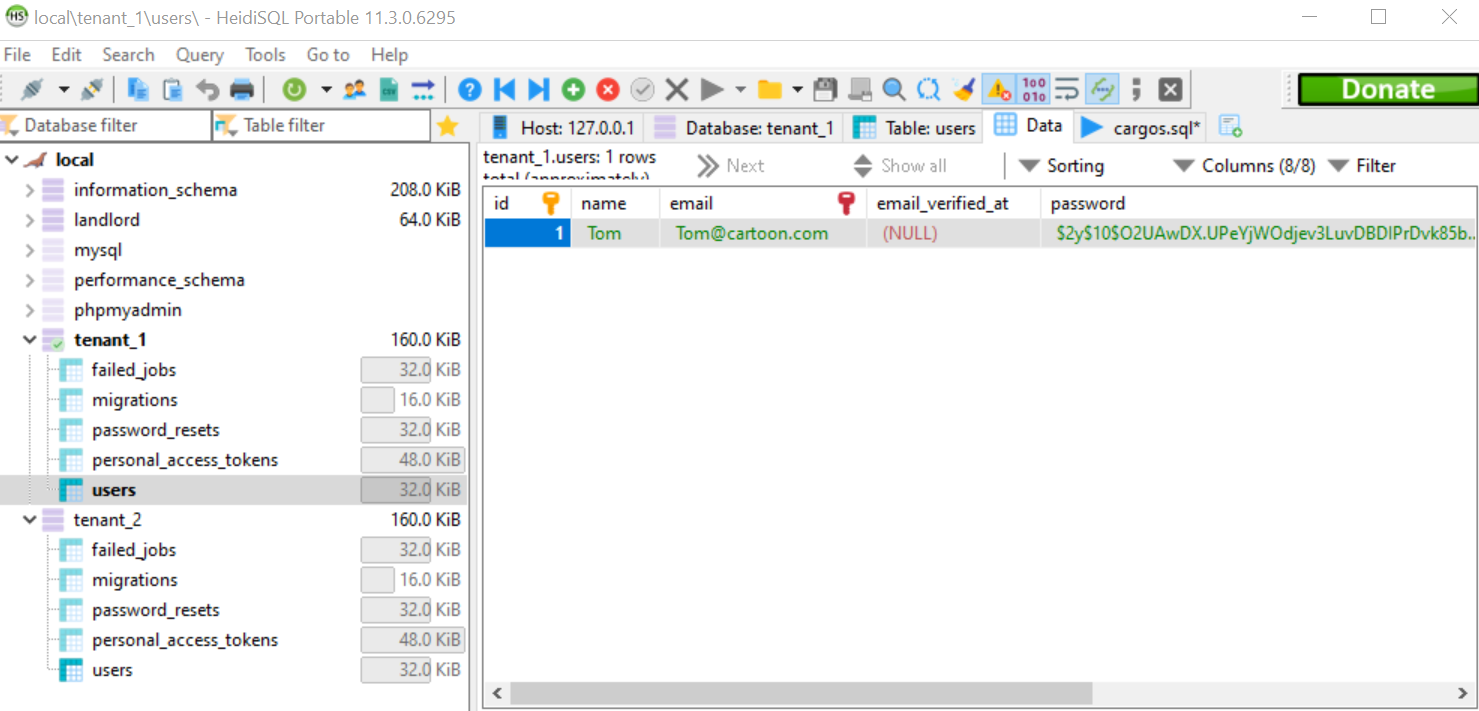
Sub Domain support
In this tutorial, we use two different dummy domain tenant1.test and tenant2.test, you can also change to sub-domain mode like tenant1.abc.test and tenant2.abc.test in the landlord database tenant table , no code need to be changed, the system will support sub domain automaticly.
Github
You can find the source of this example here
REF
- https://spatie.be/docs/laravel-multitenancy/v2/introduction
- https://spatie.be/videos/laravel-package-training/laravel-multitenancy
- https://github.com/spatie/laravel-multitenancy
- https://weihien90.medium.com/laravel-5-simple-subdomain-for-multi-tenant-application-551ee489b599
- https://ollieread.com/articles/laravel-multi-tenancy-avoiding-over-engineering
- https://tomschlick.com/laracon-2017-multi-tenancy-talk/
- https://www.youtube.com/watch?v=UgWpS4xBiuU
- https://laravel.io/forum/09-13-2014-create-new-database-and-tables-on-the-fly